- Replacing home windows in Australia requires compliance with Australian Standard AS 2047 and the National Construction Code (NCC).
- Precise measurements in millimetres are essential, older homes may have uneven or settled frames that complicate a like-for-like swap.
- The process involves removing the old frame, preparing the rough opening, setting the new frame level and plumb, then sealing and insulating thoroughly.
- DIY window replacement carries real risk of leaks, drafts, and structural damage if not done correctly, professional installation is strongly recommended.
- Ultimate Windows manufactures and installs uPVC replacement windows across Melbourne, Canberra, and regional Victoria, backed by a comprehensive guarantee.
Deciding to replace the windows in your home is no small undertaking. There are plenty of challenges to be aware of and many aspects of the job that the average person would not even consider. The need for precise measurements cannot be underestimated, especially in older properties where aged openings may not be perfectly square, even the smallest discrepancy can cause leaks, drafts, and long-term structural damage. Houses settle over time, meaning window frame dimensions may have shifted since original installation. Existing frames may be too deteriorated to simply replace the glass, requiring the entire window unit and frame to be replaced. All replacement windows must comply with Australian Standards and the National Construction Code (NCC), which may mean new windows cannot be an exact replica of the old ones.
The Critical First Step: Planning, Selection and Precision Measuring
Fail to prepare, prepare to fail. Careful planning is essential to ensure your replacement windows meet both functional and legal requirements before a single screw is turned.
Understanding Australian Compliance Requirements
All replacement windows and glazed doors must comply with the NCC via Australian Standard AS 2047. While a straight window swap generally does not require a building permit, it is worth confirming with your local council before proceeding to avoid fines or compliance issues after the fact.
Choosing the Right Window for Your Home
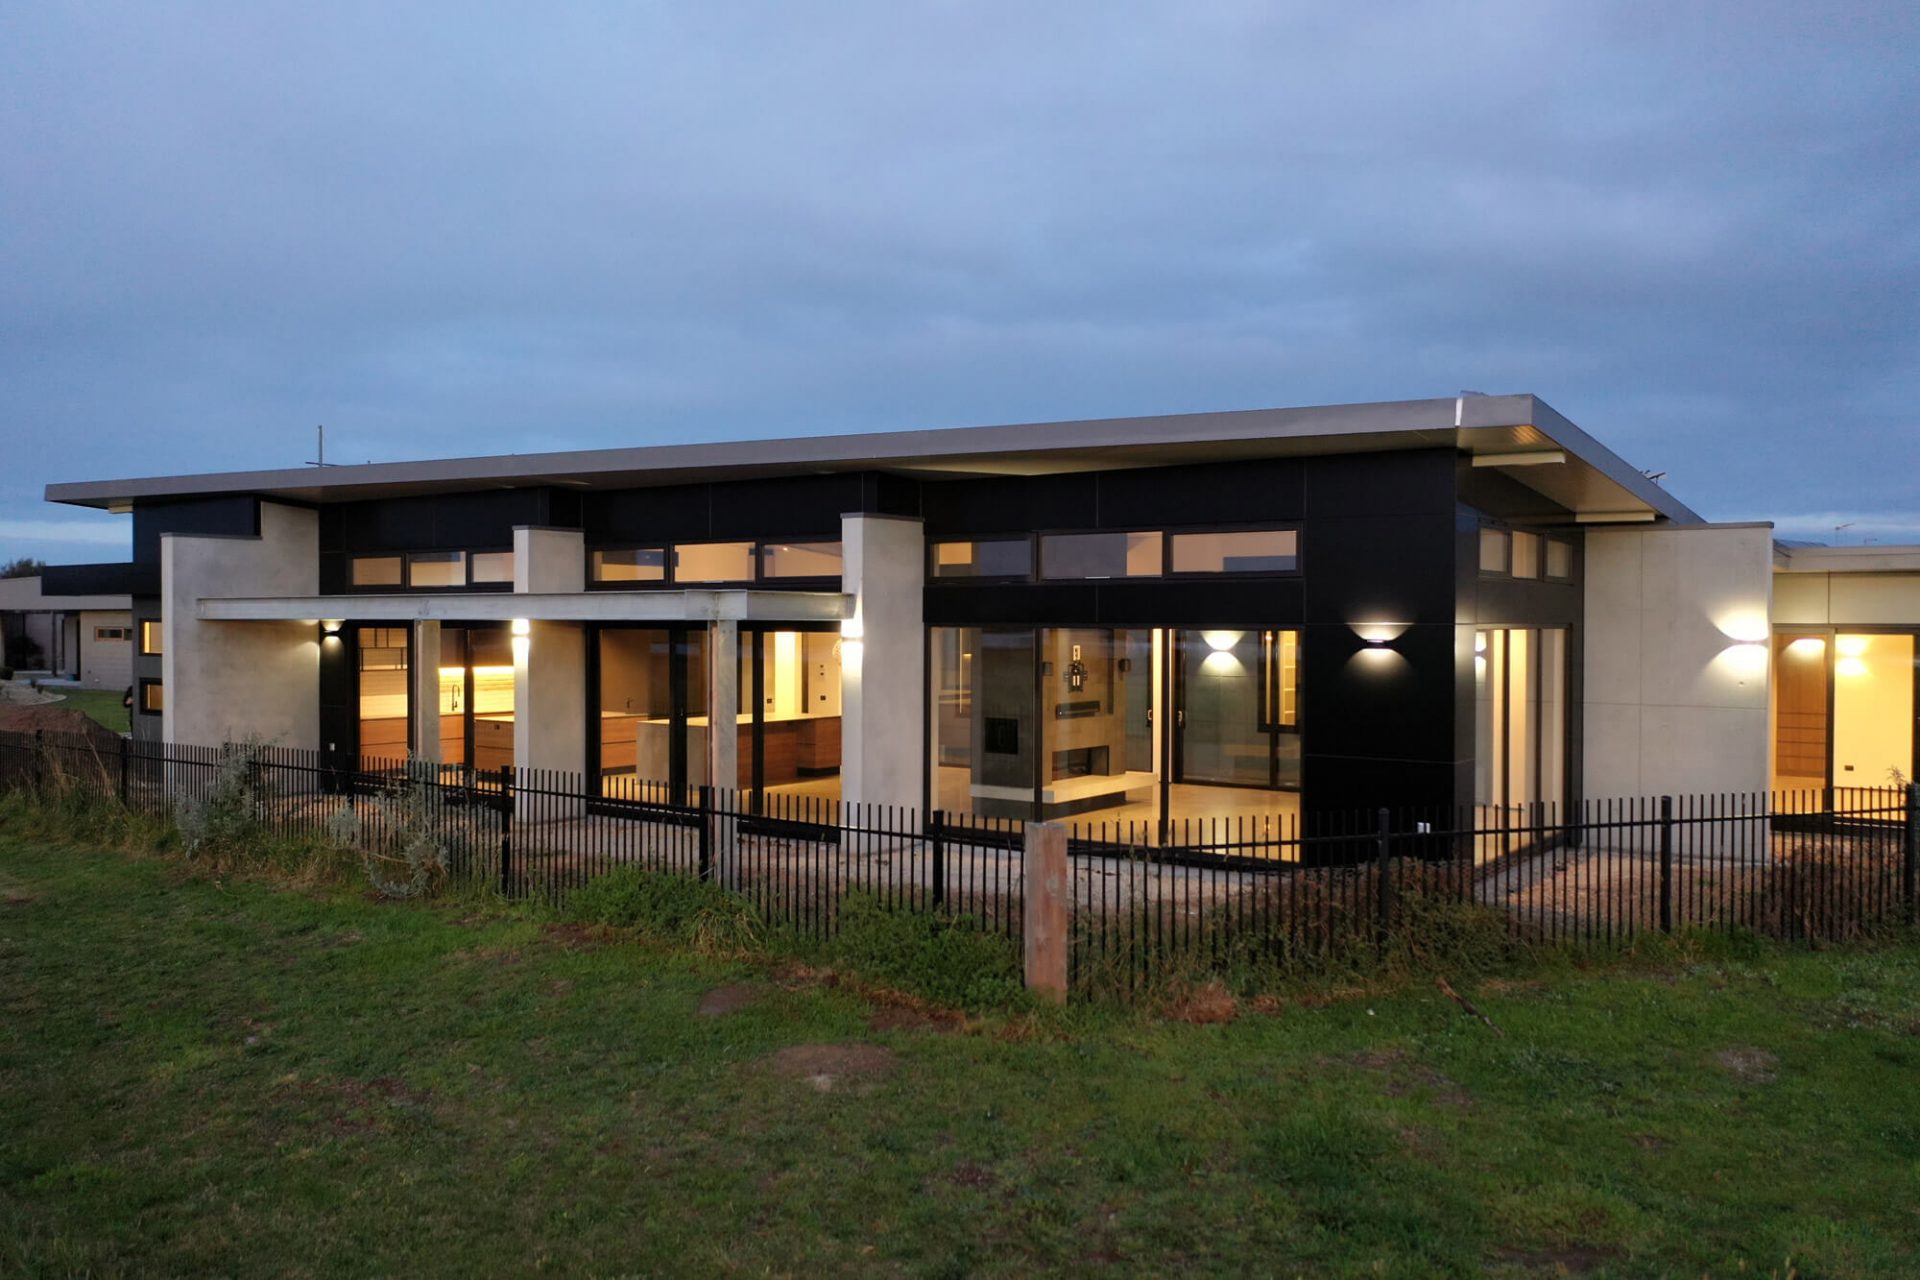
There is a wide selection of window styles and materials on the market, each with varying price points and performance characteristics. Not all options are equal, particularly in Australia’s demanding climate. uPVC double glazed windows are designed specifically to handle heat, humidity, and UV exposure, keeping your home comfortable year-round while reducing energy bills. Upgrading to a high-quality double or triple glazed window adds both style and long-term value to your property. Explore the full range of window and door products available from Ultimate Windows to find the right fit for your home.
How to Measure Windows Correctly
Every window opening must be measured precisely, as dimensions can vary slightly from one opening to the next. Follow these measurement rules:
- Always measure in millimetres (mm), never round up.
- Measure both the width and height from both sides and from the centre of the opening.
- Record the smallest measurement in each direction.
- Measure the depth of the reveal to determine the correct frame thickness.
A professional installer will understand the unique challenges of each opening, account for building settlement, and assess the condition of existing frames before committing to a specification.
Pre-Installation Preparation: Clearing the Site and Gathering Your Tools
Before attempting to install a new window, the surrounding area must be clean, clear, and protected. Proper preparation prevents unnecessary damage to your home and speeds up the installation process.
Inside the Home
- Remove any blinds, curtains, or nearby wall hangings.
- Cover furniture and flooring with plastic sheeting to protect against dust and debris.
Outside the Home
- Clear the area of plants, outdoor furniture, and any other obstructions.
- Ensure safe access to the exterior of the opening.
Preparing the Window Opening
- Scrape away any old foam, caulk, and debris from the opening.
- Repair any structural damage or cracks in the surrounding frame or wall.
- Confirm the opening is square and level, both horizontally and vertically.
Step 1: Safely Removing the Old Window and Frame
Safety must come first during removal. Before you begin, put on appropriate personal protective equipment (PPE):
- Safety goggles
- Heavy-duty gloves
- Protective work clothing
Then follow these steps:
- Remove the window sash from the frame. Enlist a second person if the sash is large or heavy to avoid injury.
- Using a utility knife, cut and pry away any caulk or sealant around both the interior and exterior of the frame.
- Remove all nails or screws holding the frame in place, taking care not to twist or crack the glass.
- Once all connections are severed, use a pry bar to ease the frame out of the opening carefully.
Step 2: Preparing the Rough Opening and Addressing Damage
With the frame removed, the rough opening must be assessed and prepared before the new window can be set in place.
- Use a small brush or vacuum to remove all debris from the opening.
- Check that the opening is square and plumb.
- Install waterproof flashing tape to provide a critical layer of water protection. Flashing must be installed correctly so water is directed away from the opening and cannot penetrate the wall cavity.
- Check the sill is level, use spacers or packers where needed.
- Test-fit the new window to confirm it sits within the opening with an even gap all around for sealant or expanding foam.
Step 3: Setting the New Frame Level, Plumb and Secure
Once the opening is waterproofed and squared, it is time to install the new frame.
- Use shims to push the frame into a plumb, level position.
- Secure the frame with galvanised screws.
- Check for twist by driving a string diagonally from corner to corner in both directions, the strings should cross without pulling on each other.
- Confirm there is a consistent gap around the entire frame perimeter.
- Trim any excess shim material flush with a utility knife.
Step 4: Sealing, Insulating and Finishing the Installation
The final step is critical for weatherproofing, energy efficiency, and a clean visual finish.
- Seal the exterior gap between the new frame and the wall with a quality exterior-grade sealant or caulk.
- Fill the interior gap with low-expansion foam, filling only one-third of the cavity to allow for expansion.
- Apply weatherstripping (such as foam tape or press-on vinyl) to the moving parts of the window to eliminate gaps when closed.
- Use caulk to fill any remaining interior gaps, smoothing for a clean, professional finish.
Correctly sealed windows are essential for preventing heat loss, condensation, and water ingress, all of which directly affect your home’s energy efficiency and long-term structural integrity.
DIY vs Professional Window Replacement: What You Need to Know
| Factor | DIY Replacement | Professional Installation |
|---|---|---|
| Compliance with AS 2047 and NCC | Your responsibility to ensure | Managed by the installer |
| Measurement accuracy | Risk of errors, especially in older homes | Precision measured by experienced installers |
| Waterproofing and sealing | High risk if incorrectly applied | Industry-standard techniques used |
| Structural damage risk | Higher, depends on skill level | Minimised with proper assessment |
| Guarantee or warranty | Generally none on workmanship | Backed by installer guarantee |
| Time and effort | Significant, especially for first-timers | Efficient with the right team |
Replacing windows in your home is not a task to take on lightly. Incorrect installation can result in leaks, drafts, condensation, voided warranties, and costly repairs down the track. Seeking professional help is strongly recommended, particularly if your home is older, multi-storey, or requires compliance documentation. At Ultimate Windows, our professional installation team manages every step of the process, from precise measurement through to sealed, compliant installation. Our uPVC double glazed windows are Australian-made and backed by a comprehensive guarantee that goes well beyond the industry standard. Get a free quote today and let us make window replacement easy.
Frequently Asked Questions
Do I need a permit to replace windows in Australia?
In most cases, a straight window replacement that does not alter the size or position of the opening does not require a building permit in Australia. However, all replacement windows must comply with Australian Standard AS 2047 and the National Construction Code (NCC). It is always advisable to check with your local council before starting work, as requirements can vary by state and property type.
How do I know if my window frames need replacing or just the glass?
If your existing frames are structurally sound, undamaged, and sitting square and level, it may be possible to replace the glass only. However, if frames are warped, rotted, cracked, or no longer square due to building settlement, the entire window unit and frame will need to be replaced. A professional assessment is the most reliable way to determine this.
What is the best window type for Australian homes?
uPVC double glazed windows are widely regarded as the best option for Australian homes due to their superior thermal performance, noise reduction, durability, and low maintenance requirements. Unlike aluminium frames, uPVC does not conduct heat or cold, making it highly effective at maintaining comfortable indoor temperatures year-round. Learn more about eco-friendly window and door options for Australian conditions.
How long does window replacement take?
The time required depends on the number of windows, the complexity of the openings, and whether frame replacement is needed. A single window replacement typically takes a few hours. A full home replacement by a professional team can take one to several days depending on the scope of work. Custom-manufactured windows such as those made by Ultimate Windows may have a lead time of several weeks from order to installation.